Location of Shrine
- View location on the Breath of the Wild Interactive Map.
- Located just southwest of the Central Tower.
Walkthrough
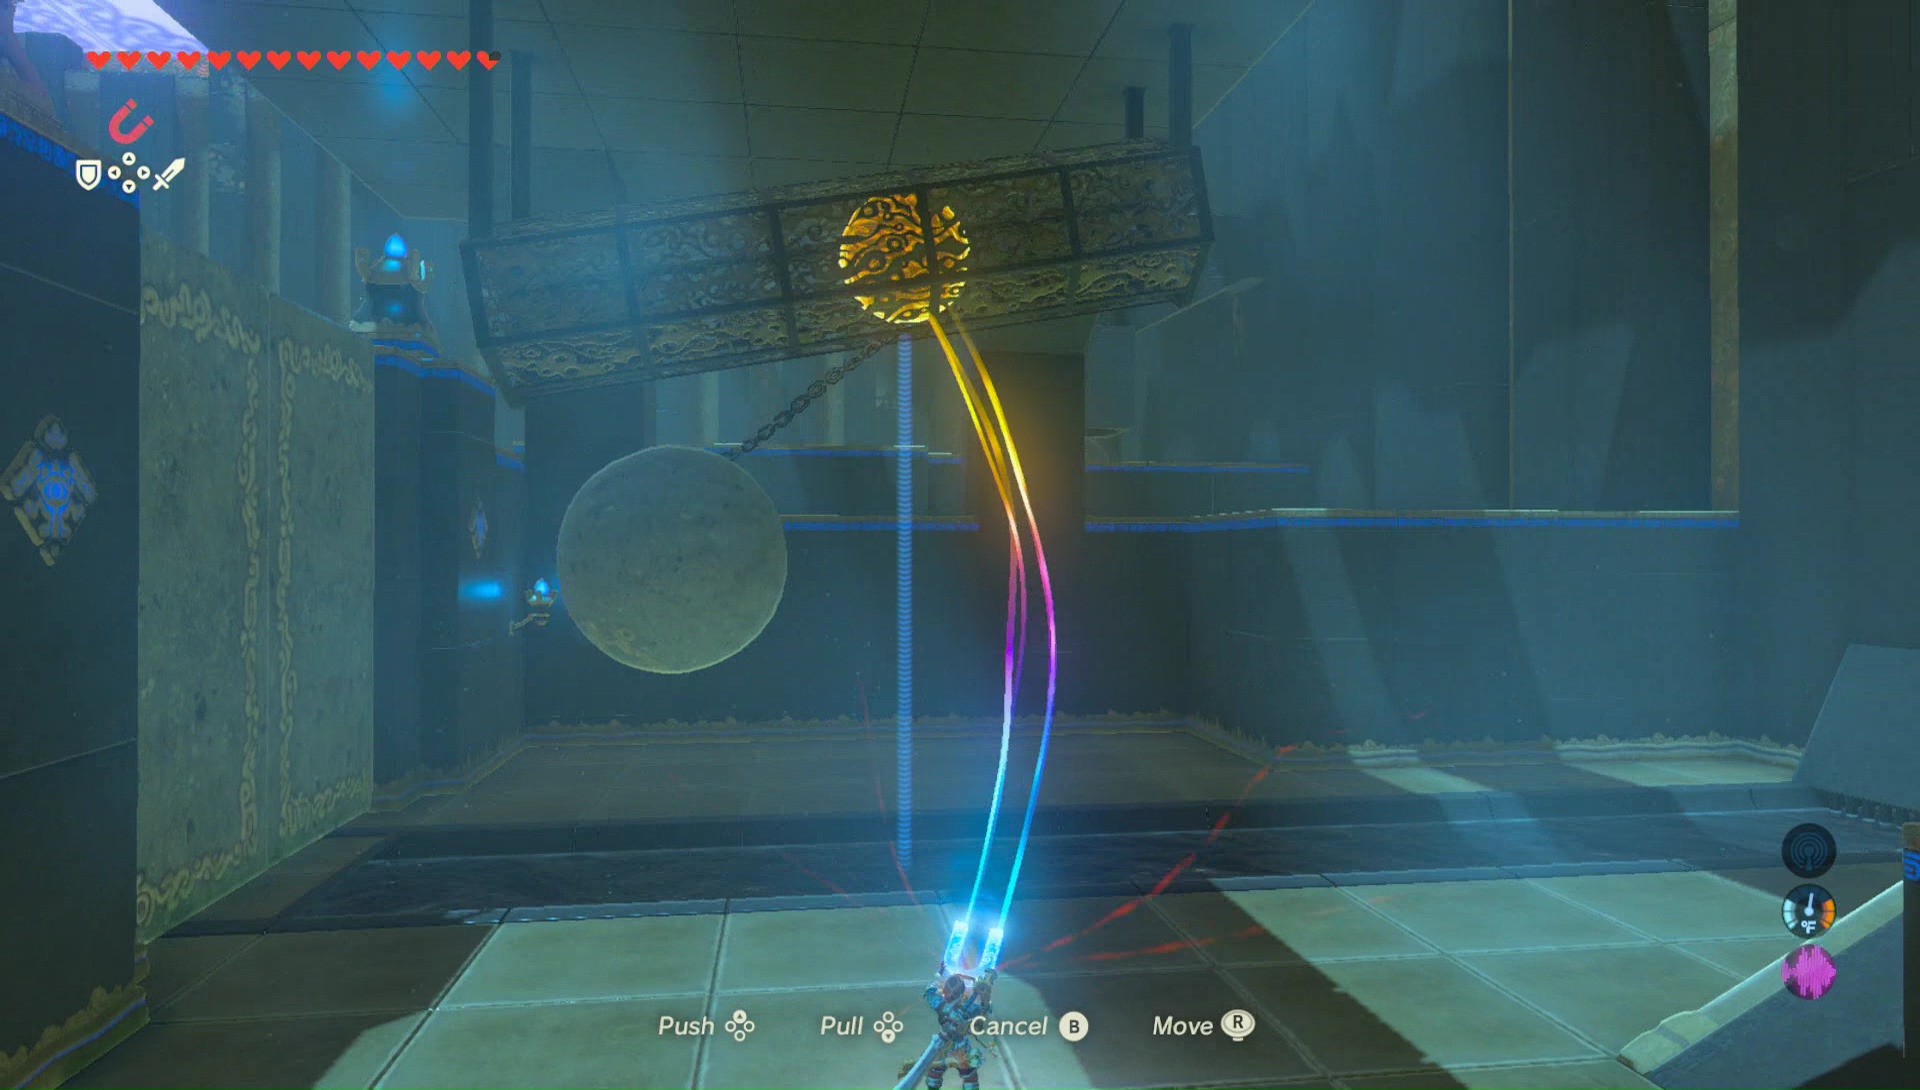
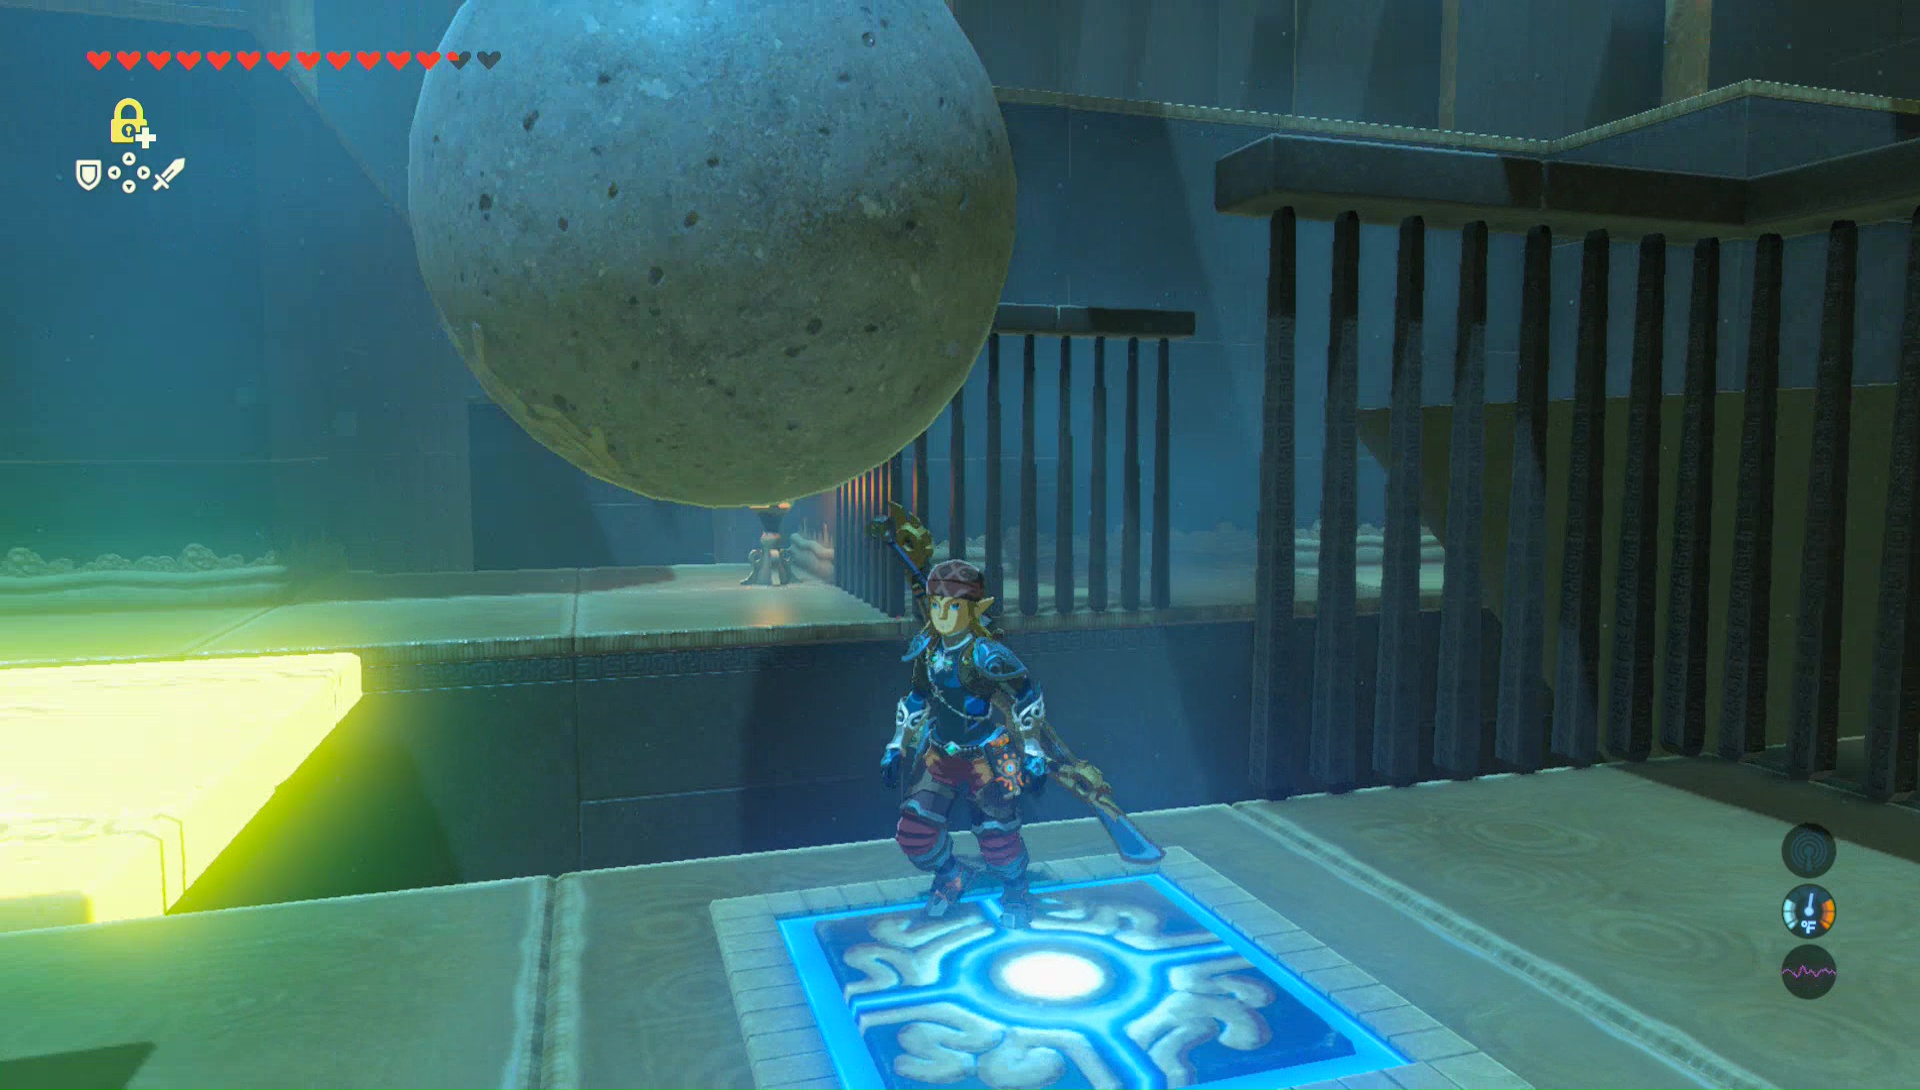
In the first room there is a large boulder and it is connected to a smaller boulder by a chain. Use Magnesis to grab the smaller boulder and pull it back. Swing it back forward and the momentum of the larger boulder will knock open the door ahead.

In the next area there is a single spiked ball that will roll by. Just wait until it passes and run ahead. The next area has three spiked balls and the gap is not large enough for your to make it through. Use your Stasis ability to freeze one of the balls and it stop, creating a path for you to go.
Defeat the enemy guardians here and open the treasure chest to get the Edge of Duality. Just above the treasure chest you will see some vines, along with a massive boulder. There is a torch hanging down from above and you can cut the rope by shooting an arrow. This will cause the vines to light on fire, burning the wooden platform as well. The ball will roll down, opening the door ahead.


Open the treasure chest on the left to get a Knight’s Broadsword and then climb the steps. Run ahead and fight off the two guardians found here. There is a door to the left but we can’t quite do anything about it just yet. Continue onward to the narrow hallway and you’ll find that there is a see-saw platform beneath you. You cannot just run across, otherwise you will fall down. Jump your way across the gap.


Make your way to the gyro control puzzle. You have to move your controller to hit the ball, causing it to hit the massive boulder. You’ll need to hit it a few times, first breaking the small crate, then the big crate, and then falling down the hole ahead, eventually opening the doorway. Before heading through, open the nearby treasure chest to get an Ancient Core.


Run to the other side of the room near the floor switch. Dip an arrow into the flame and then shoot through the bars to light the vines on fire. This will cause the wooden platform to burn and the ball will roll down. A new ball will continuously fall down. If you step on the floor switch here, it will create a ramp, which if you step on it right before the ball falls down into the abyss, the ramp will launch the ball ahead to the next platform. However, it will just hit the see-saw platform and fall down. We need to hold the see-saw platform in place, so use Stasis to temporarily freeze it. While it is frozen, step on the floor at the right time to get a ball to fly over the gap and hit the door ahead.


In the next room step on the floor switch to open the gate ahead. While stepping on it, use Stasis on the battering ram and then hit it several times to build kinetic energy. Once it release it will slam ahead, right through the door.


Climb the steps here and while standing on the square block, hit the crystal switch. Before making your way to the monk, glide beneath the monk’s platform as there is a hidden treasure chest back here. Make your way around and open the treasure chest to get a diamond. Now return to the crystal switch and hit it to bring the platform back down. Make your way over to the monk, Kaam Ya’tak, and he’ll reward you with a Spirit Orb.


