W H I S T L E W H I S T L E |
|
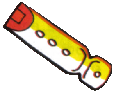
The Whistle can no longer warp us places, but reveals a ton of hidden passages in the overworld. |

|
 |

x 12 |
|
|
|
With all other exits, being only one, obviously worthless, head up. |


|
 |

x 5 |
|
|
|
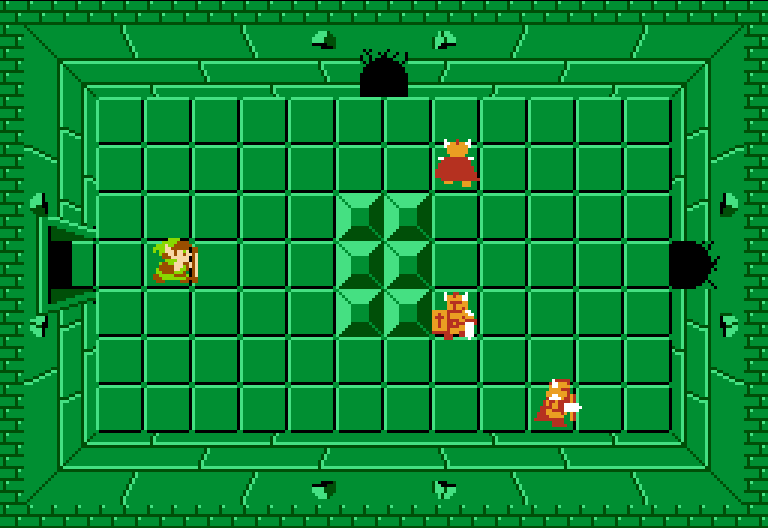
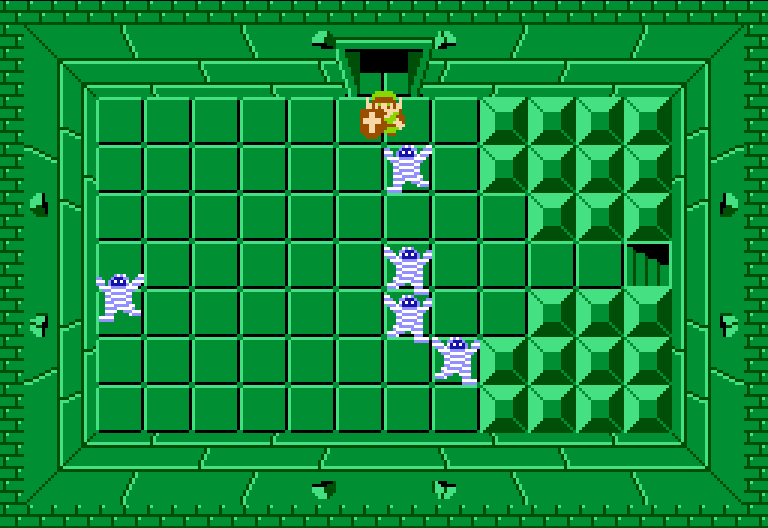
Kill all five of these Gibdos for a key. Head up, as that's the only direction of progress. |

|
 |

x 3 |
|
|
|
Donja hate pointless rooms with weak enemies? Oh! Remember how Zols became Gels when we hit them? Well, with the white sword they just die. Soo ... fun fact. Head up. |

|
 |

x 8 |
x 2
|
|
|
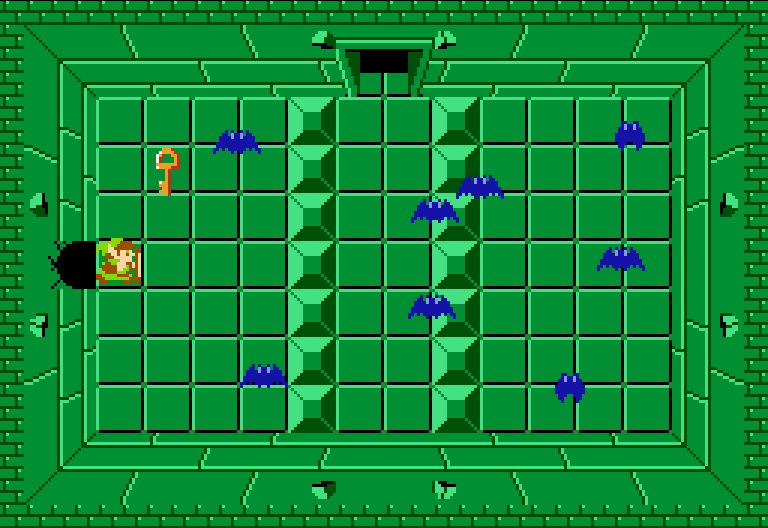
You don't have to kill these Keese, just grab the key and head up. |

|
 |
x 5 |
|
|
|
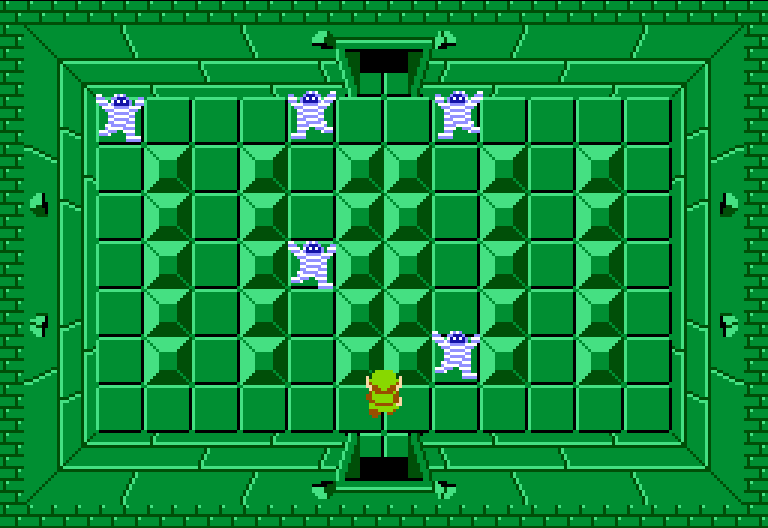
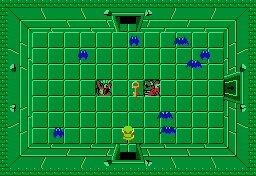
The door will lock behind you, and we'll need to go back at a later point in this dungeon, so kill the Gibdos and head up. |

|
 |
x 8 |
|
|
|
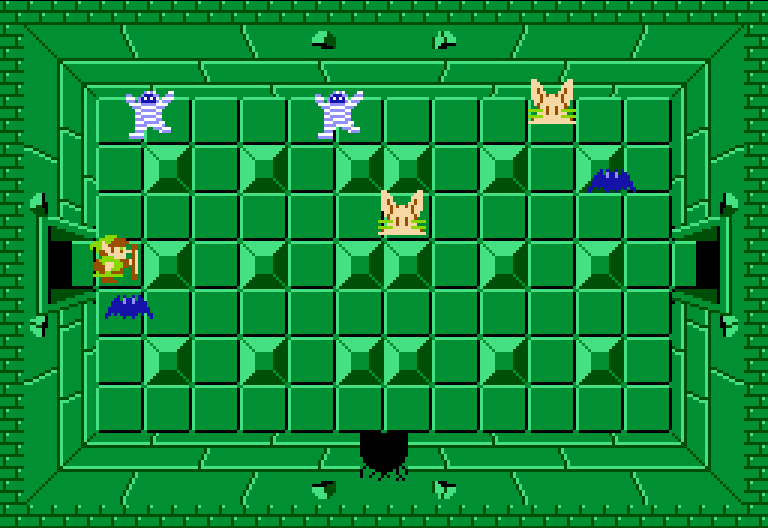
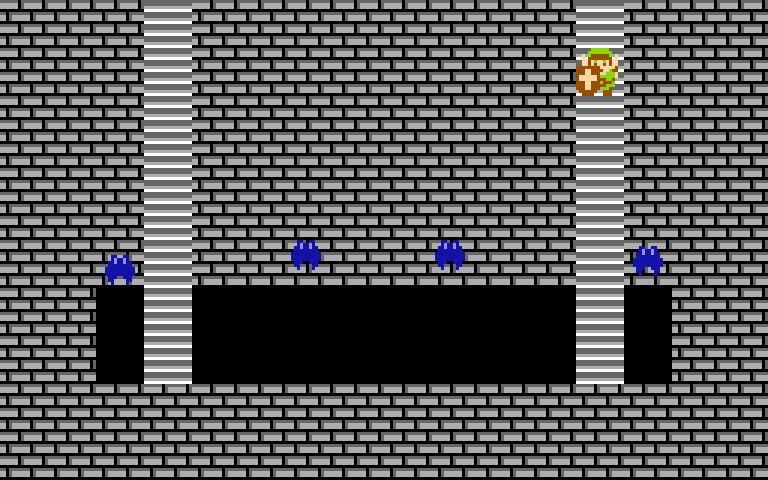
Killing the Keese won't get you anything, but bomb the right wall and enter the new door. |

|
 |
x 8 |
|
|
|
Kill the Keese if you want, but grab the key and head back out and up one. |

|
 |

x 1 |
|
|
|
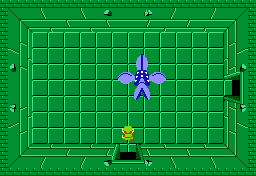
Manhandla appears as a miniboss of this dungeon. Kill him using any method. I reccomend bombs, but the sword works fine. Kill him for a key. |

|
 |

x 6 |
|
|
|
Don't be afraid of these guys, as you don't need to kill any of them. Just use a key and head up. |


|
 |
x 2 |

x 4
|
|
|
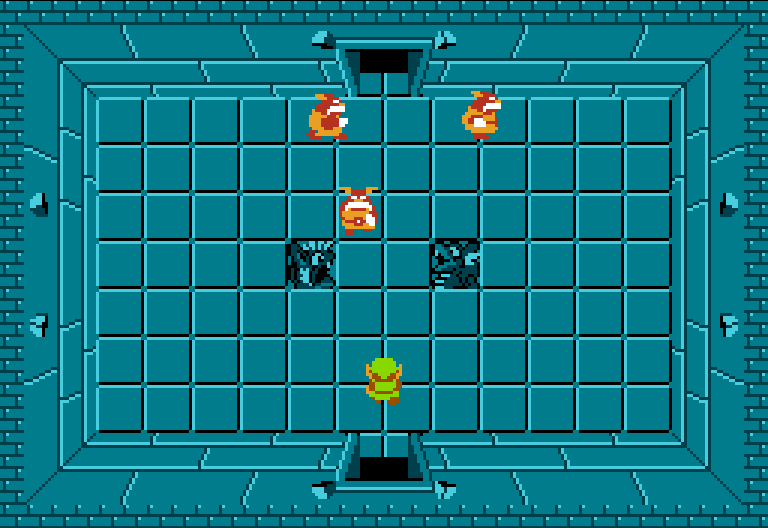
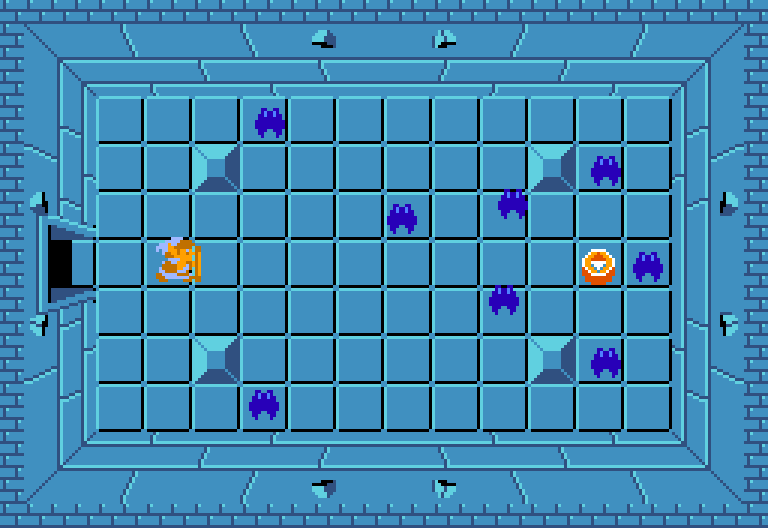
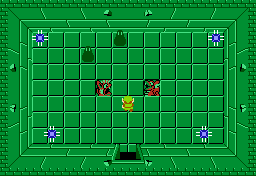
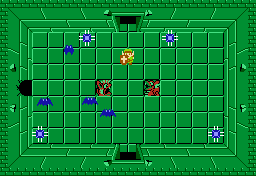
Kill the Zols and avoid the Blade Traps to make the Dungeon Map appear. Head down two to continue. |
|
 |
x 8 |
|
|
|
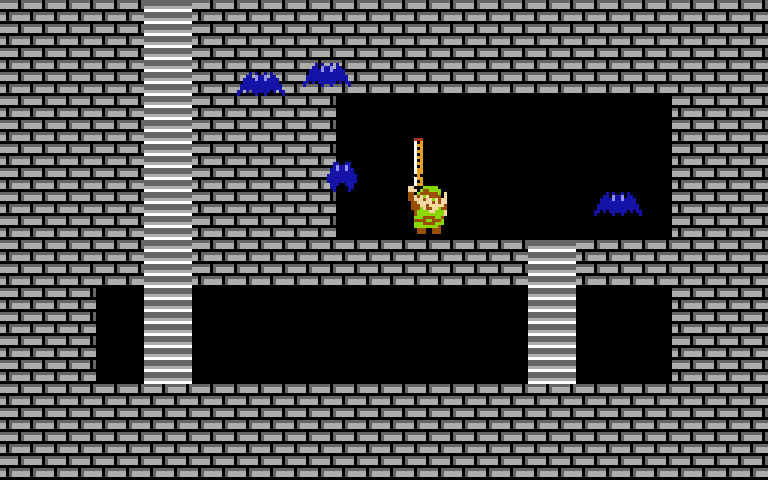
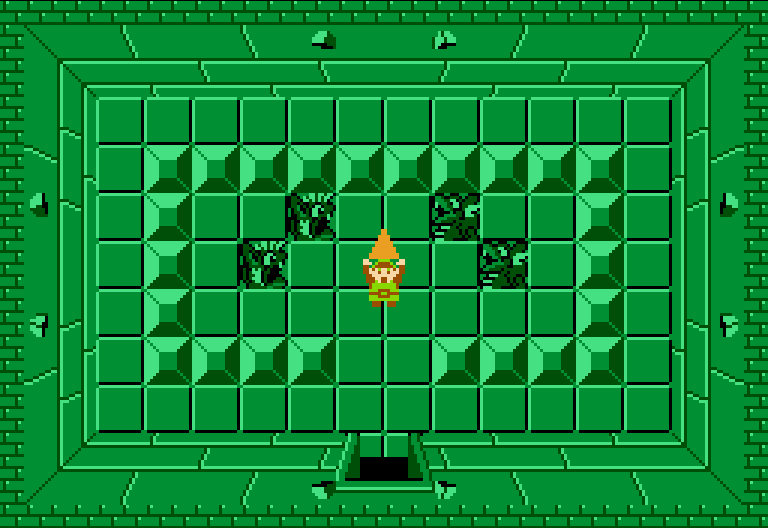
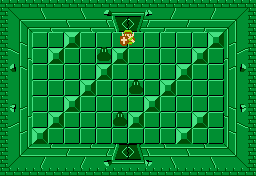
This is the same room that we grabbed that key in back there. You don't need to kill any keese if you left any from your first encounter. Just push yourself against the bottom wall to find there is an invisible door. |

|
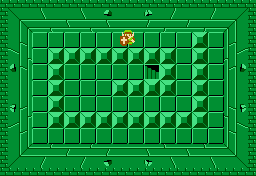 |
Yes, this is a mythical undoored room. Enter the staircase. |
 |
 |
x 4 |
|
|
|
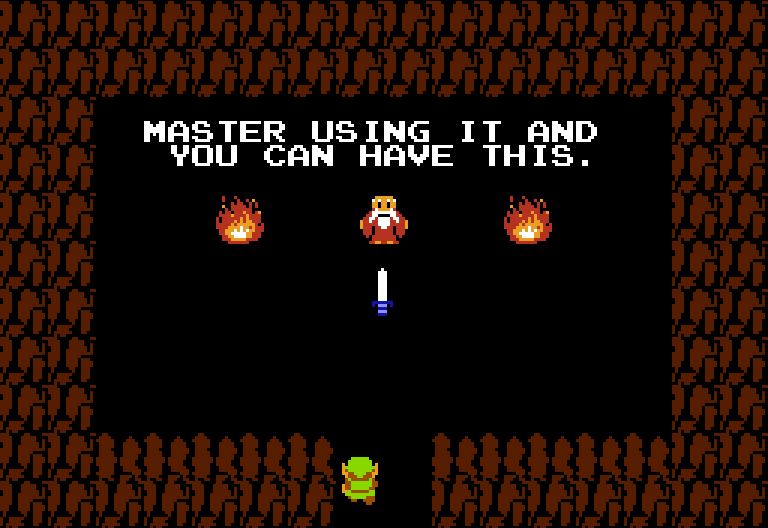
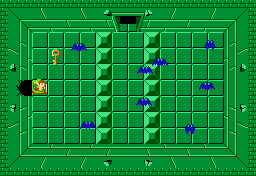
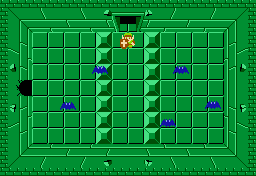
Walk over to this dungeon's item, the Whistle. The whistle when played makes secret entrances appear. We'll be using it to find many helpful items. Anyway, we now want to practically head back to the entrance. Head out and up two, left one, down four and use a key to head right. |


|
 |
x 3 |
|
|
|
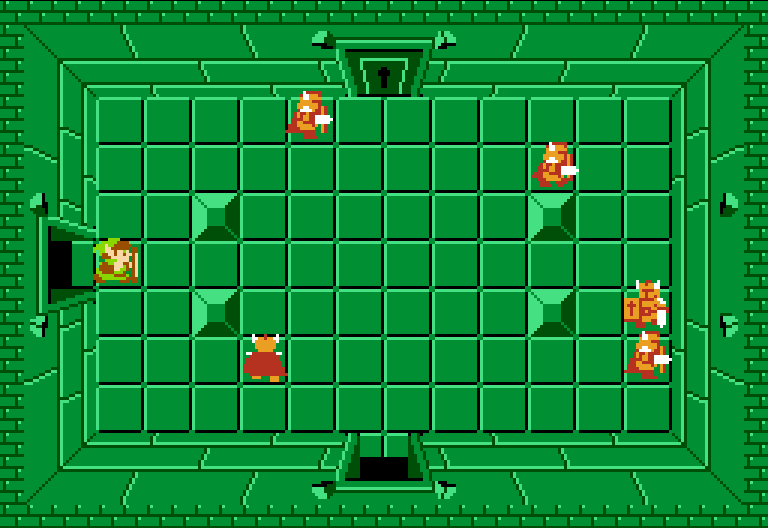
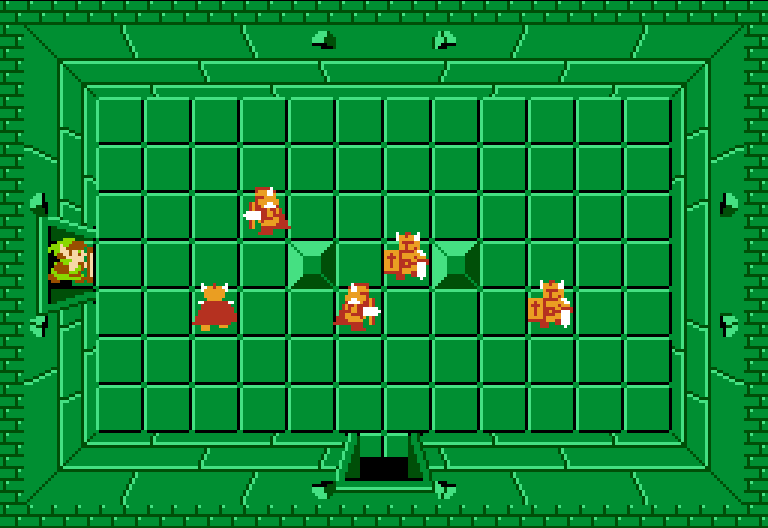
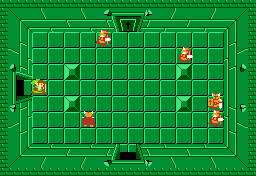
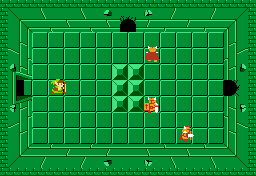
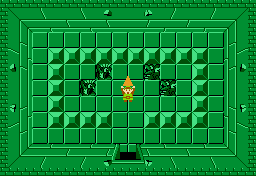
Kill these Darknuts to make the compass appear. You can save keys by bombing the right or top walls, but if you don't have any bombs, head left, up and right using a key. |

|
 |
We don't really need any more keys, but some extra could be useful. Kill them if you want. |


|
 |
x 5 |
|
|
|
Kill the Darknuts if you want some bombs. They won't really be useful for the rest of the dungeon. Head down. |

|
 |
Kill the Keese if you want an extra key, but not necessary for the rest of the dungeon. head down. |

|
 |
x 3 |
|
|
|
Again, Keys aren't necessary, so kill the Zols and head down. Grab the key if you want. |


|
 |
x 5 |
|
|
|
Kill the Gidbos if you want some rupees, but enter the staircase either way. |
|
 |
x 4 |
|
|
|
Go to the other side, please. |

|
 |
x 3 |
|
|
|
If you want some bombs, kill the Darknuts, but head up using a key. |

 |
 |
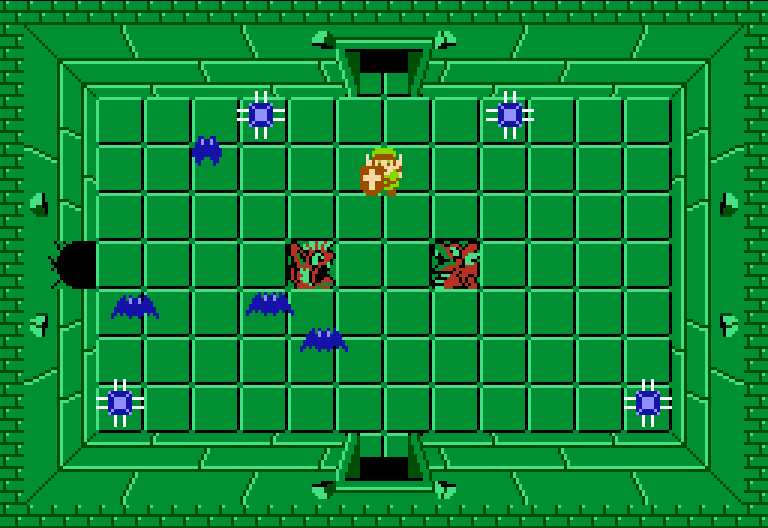
Gleeok is this dungeon's boss, and is considerably harder than Aquamentus.
Gleeok attacks by shooting fireballs at you, which are annoyingly frequent. Our Magical Shield cannot block them.
Attack one of his heads and his body will flash signifying pain. Keep attacking to sever the head. Do the same to the other head, however, the first head will fly around flinging fireballs.
Grab the Heart Container and head up. |
|
View this Boss in our Boss Guide
|


|
 |
x 4 |
|
|
|
Grab the Triforce and you'll be healed and warped out. |
|
|